Morel mushrooms, highly prized for their earthy flavor and unique honeycombed appearance, are a favorite among foragers and gourmet cooks alike. When the season strikes, you might find yourself with a bountiful harvest, more than you can use while they’re fresh. Freezing morel mushrooms is an excellent way to preserve their quality and extend the enjoyment of their distinct taste throughout the year.

By freezing your morels, you can lock in their flavor and texture at their peak. It’s important to prepare them properly before freezing to maintain their quality. Whether you’re a seasoned mycologist or a weekend forager, learning the right way to freeze these wild delicacies will ensure that you can relish their taste long after the foraging season has passed. The benefits of freezing morel mushrooms include not only the enjoyment of their taste out of season but also having the convenience of this wild edible on hand for impromptu culinary creations.
Understanding how to freeze Morel mushrooms involves simple steps such as cleaning, pre-cooking, and packing the mushrooms appropriately. When done correctly, you’ll have access to one of nature’s finest flavors anytime you wish, right from your own freezer. Let’s ensure that you can savor those morels year-round with some effectively proven freezing methods.
Preparation of Morels for Freezing
Before you stow away your morel mushrooms for the season, they require thorough preparation to maintain their distinctive texture and forest-fresh flavor. This involves meticulous cleaning and slicing, followed by a proper blanching process.
Cleaning and Slicing
First, you’ll want to clean your morel mushrooms effectively to remove any forest debris. Gently brush off any dirt with a soft brush or damp cloth. Since morels are often hollow, it’s essential to check the insides for any residue or insects that could be lurking. Avoid rinsing them directly under water, as this can introduce excess moisture.
Next, slice the morels according to your preference. If your goal is to preserve the texture, slice them lengthwise to expose their honeycomb pattern, which is a hallmark of morels. Remember, maintaining relatively uniform pieces will ensure they freeze and defrost evenly, keeping their quality intact.
Blanching Process
Blanching is a critical step in preserving the integrity of your morel mushrooms before freezing. To blanch, prepare a solution of water with a splash of vinegar, which can help disinfect the morels and prevent them from darkening. Here’s a simple guide:
- Bring a pot of water to boil, and add a teaspoon of vinegar per quart.
- Submerge your morels in the boiling water for up to 2 minutes.
- Immediately transfer them to ice water to halt the cooking process.
The blanching process not only cleanses your morel mushrooms but also helps to stabilize their delicate flavor and firm up their texture. After blanching, dry the morels thoroughly to remove any residual moisture, as excess water can result in a loss of quality when frozen.
Freezing Methods and Tips
When you’re out in the woods and you’ve had a successful hunt for morel mushrooms, preserving their unique flavor and texture for off-season enjoyment is key. Freezing is one of the best ways to maintain their quality. Here, we’ll focus on methods to freeze morel mushrooms effectively to ensure they’re just as good when thawed as they were fresh from the forest floor.
Dry Packing Morels
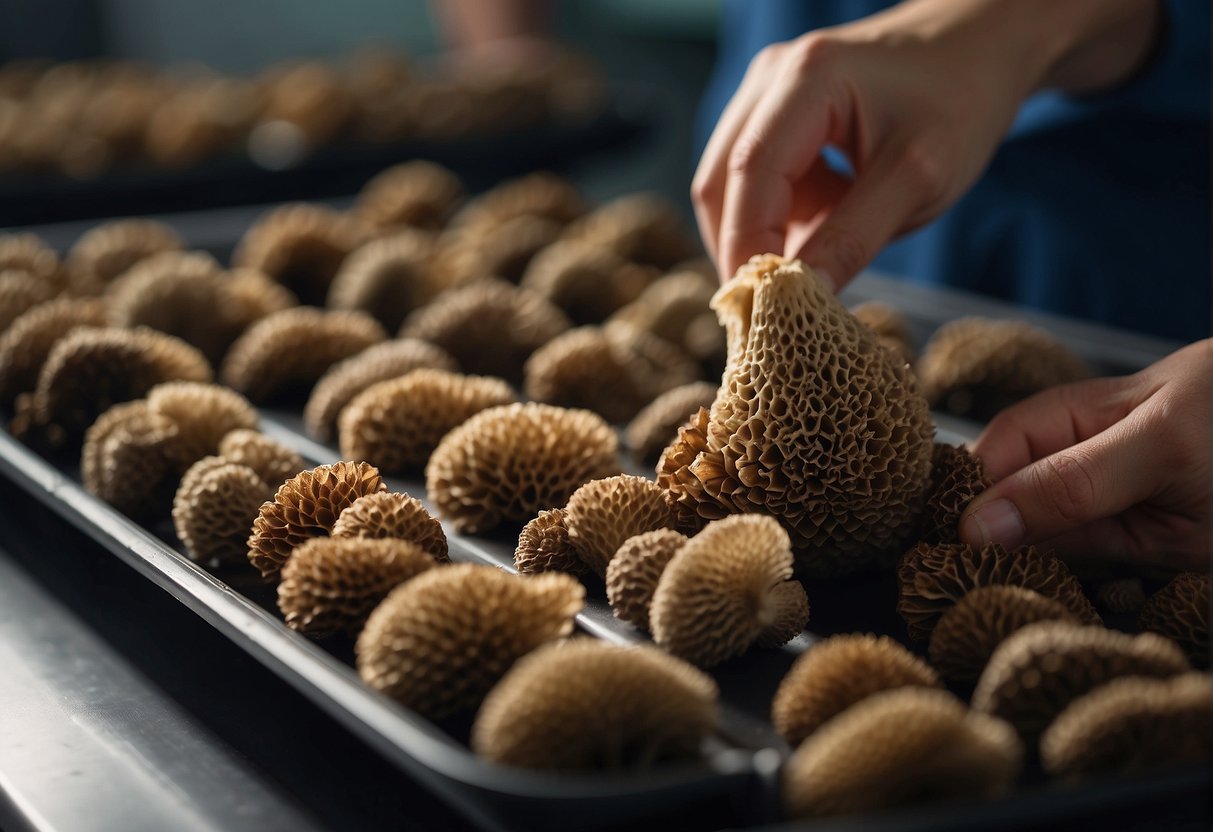
Dry packing involves preparing your morel mushrooms for freezing without added moisture. Begin by thoroughly cleaning your morels and slicing them if desired. Then, lay them out on a baking sheet, ensuring they are not touching. Place the sheet in the freezer until the morels are completely frozen. This process known as “flash freezing” helps morels retain their texture. Once frozen, transfer the morels into a freezer-safe bag, making sure to remove as much air as possible before sealing to prevent freezer burn which can impair taste and texture.
Flash Freezing
Flash freezing is crucial for preserving morel mushrooms’ unique texture. After cleaning, lightly sauté the mushrooms in oil or butter for no more than five minutes—just long enough so they are fully cooked. Allow them to cool, then spread them on a baking sheet and place them in the freezer as described above. This pre-cooking step ensures that the morels maintain their texture and flavor when you later use them in your favorite recipes.
Storing Morels in the Freezer
To maximize shelf life and preserve quality, store your morel mushrooms properly in the freezer. Use heavy-duty freezer bags or airtight containers to avoid the influx of air that leads to freezer burn. Be sure to label each package with the date so you can use the oldest ones first and enjoy them at their best. Properly frozen morel mushrooms can last for up to 12 months, allowing you to preserve the tastes of spring for many hearty meals to come.
Thawing and Cooking Frozen Morels
When you’re ready to use your frozen morels, proper thawing and cooking methods are key to maximizing their flavor and maintaining their unique texture. Here’s how you can best handle these forest treasures after they’ve been preserved through freezing.
Defrosting Techniques
To defrost your morel mushrooms, take them out of the freezer and place them in the refrigerator for several hours or overnight. This slow process helps preserve the mushrooms’ texture. If you’re short on time, you can place the bag of mushrooms in a bowl of cold water to speed up the thawing process, but avoid using hot water to prevent the mushrooms from becoming mushy.
Cooking Tips After Freezing
Once thawed, pat the morels dry to remove any excess moisture. Then, for the best results, sauté the mushrooms in oil or butter for about five minutes. You want to heat them thoroughly but not overcook them to maintain their prized texture. These sautéed morels are perfect for incorporating into a variety of recipes, whether you’re aiming to enhance a sauce, complement a steak, or enrich a wild rice pilaf. Remember, the goal is to highlight the morels’ earthy flavor, so keep seasoning simple and let the mushrooms speak for themselves.
Identifying and Harvesting Morels

When you’re out in the woods during spring, knowing how to identify and properly harvest morels is crucial. These prized fungi have a distinct appearance and habitat, but they also have look-alikes that you must be cautious of.
Foraging Best Practices
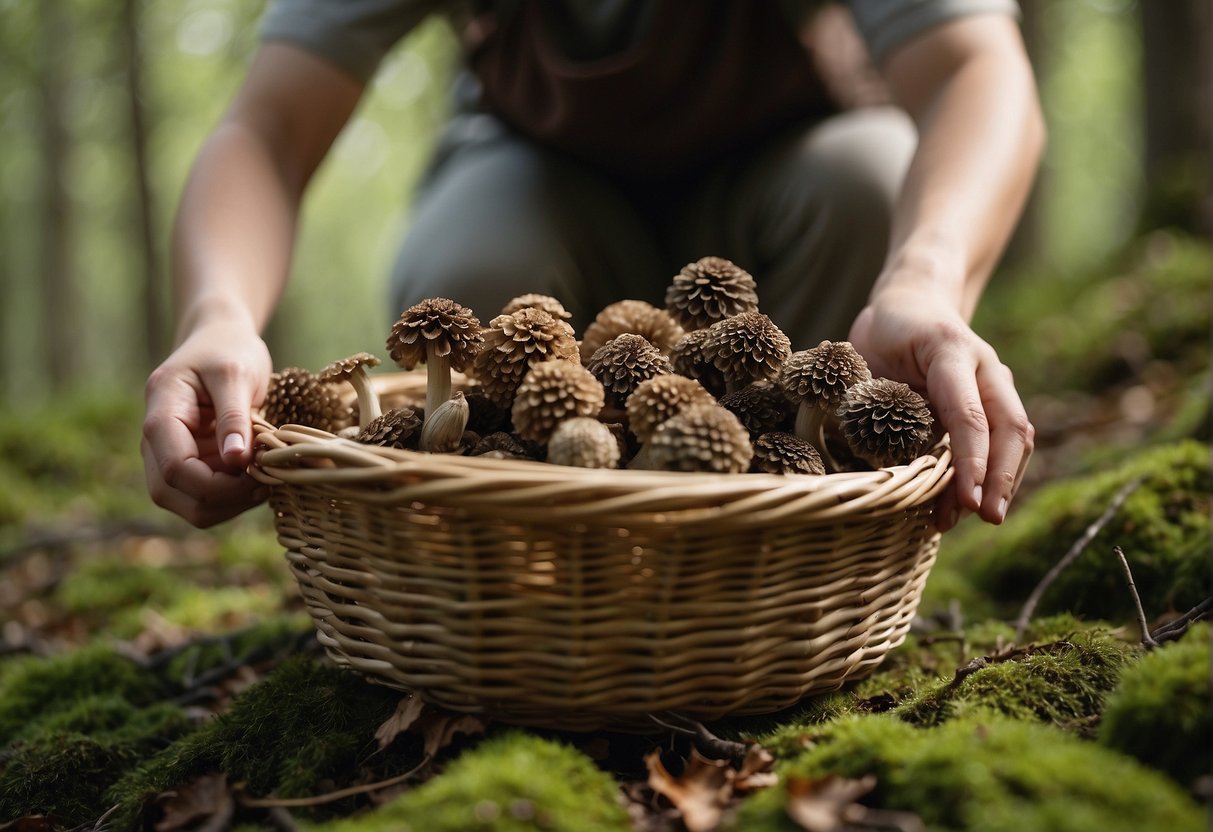
When foraging for morel mushrooms, practice sustainable harvesting techniques to protect future growths. Use a mesh bag when collecting morels; this allows the spores to disperse as you continue your search through wooded areas. It’s important to cut or gently twist the mushroom at the base rather than pulling it out, preserving the mycelium for regrowth.
Differentiating Morels from False Morels
Real morels have a honeycomb-like appearance on their cap, with pits and ridges, while false morels look wavy or lobed. Ensure the interior of the stem is hollow when sliced in half—this is a key characteristic of true morels. Always approach with caution, as wrongly identifying and consuming false morels can be harmful.
Seasonal and Environmental Considerations
Morel mushrooms thrive in the spring, but the season is fleeting, often spanning just a few weeks. Look for morels in wooded areas near oak, elm, ash, and aspen trees after a rain, as moisture encourages growth. Pay attention to the ground temperature too; morels favor soil that is about 45 to 50 degrees Fahrenheit. Keep in mind these mushrooms relish the aftermath of environmental disturbances like fires or logging.


